
Introduction
The bandsaw blade will need to be replaced when it becomes dull, teeth are missing, or it breaks. This guide will show you how to replace the blade. Make sure that you use gloves when handling the blades!
Parts
-
-
Make sure that the machine is turned off and that it is unplugged from the outlet. If the machine in not clean, vacuum it before you change the blade.
-
-
-
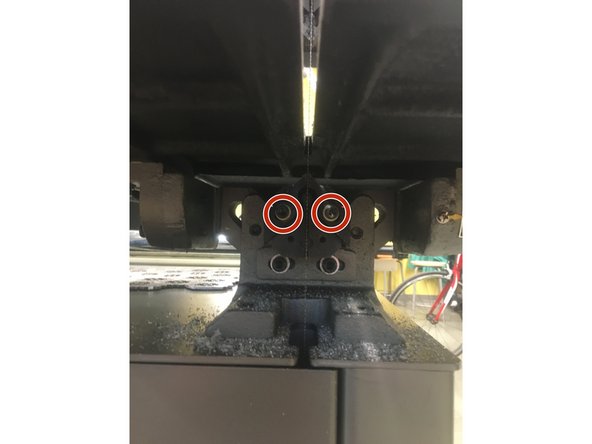
Open the upper compartment and remove the right blade guard using the 5mm Hex Key.
-
Before you continue, MAKE SURE YOU ARE WEARING GLOVES AND SAFETY GLASSES!
-
Next, turn the blade tension wheel counterclockwise until the blade can slide off of the upper drive wheel.
-
Open the bottom compartment then slide the old blade out from behind the left red guards and the guides.
-
-
-
Next, insert the new blade. To do this, you may need to loosen the blade guides above and below the bed. Use a 5mm hex key to loosen the bolts.
-
Ensure that the new blade is seated against the lip at the back of both drive wheels, within the guides, and behind the left red guard.
-
Begin to tighten the blade by turning the tension wheel clockwise until the blade stays in place.
-
After installing the new blade, put the old blade in the plastic casing that comes with the new blade or apply duct tape on the old blade and put it in the trash.
-
-
-
Ensure that the right red guard is secured back to the machine and that the blade is behind it.The guard should be tightened so that the guard is as close to the upper drive wheel as the bolt slots will allow.
-
-
-
Make sure that the blade deflection is about 1/4" side to side.
-
-
-
Close the upper and lower compartments and plug the machine back in. Turn the machine on and ensure that the blade moves properly and does not hit the guides or walks forward.
-
If either of these happen, turn the machine off and unplug it. Adjust the tension wheel accordingly. The video shows proper movement of the blade.
-


Team

IFL: Senior Lab Managers and Lab Coordinators Member of IFL: Senior Lab Managers and Lab Coordinators
6 Members
48 Guides authored