Introduction
You must know how to operate the ironworker before completing this training
This is a guide to replacing the break (the flat plate bender) to the hole punch. Complete this guide in reverse if swapping punch to brake.
-
-
Ensure power is disconnected & E-stop is engaged
-
Breaker Bar
-
3/4 in wrench
-
3/8 allen key (both T handle and L handle)
-
3/16th T handle allen key
-
9/64th T handle allen key
-
3/4 in socket and associated driver
-
Safety Glasses
-
-
-
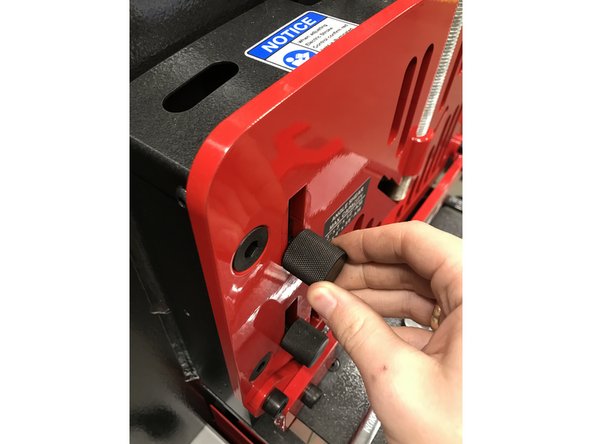
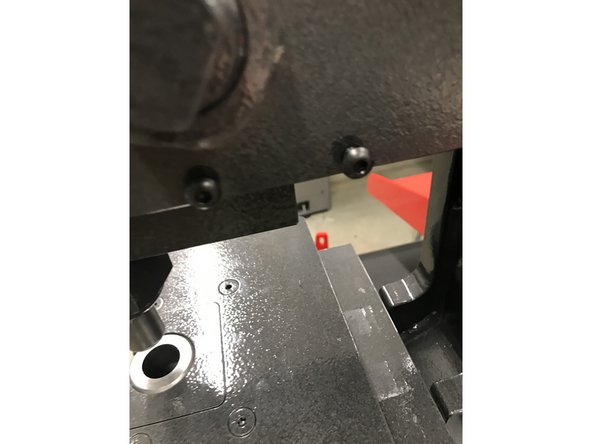
Undo the grub screws with the 9/64th
-
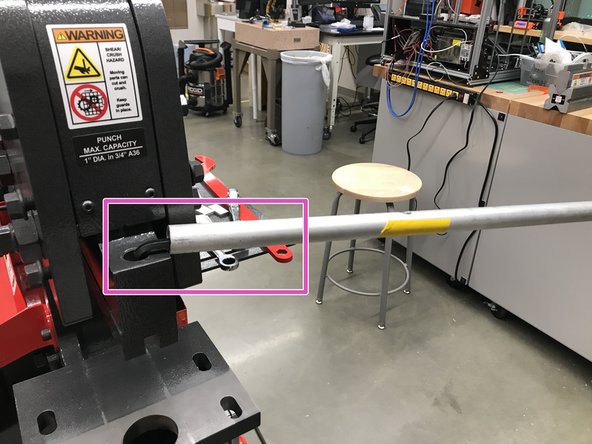
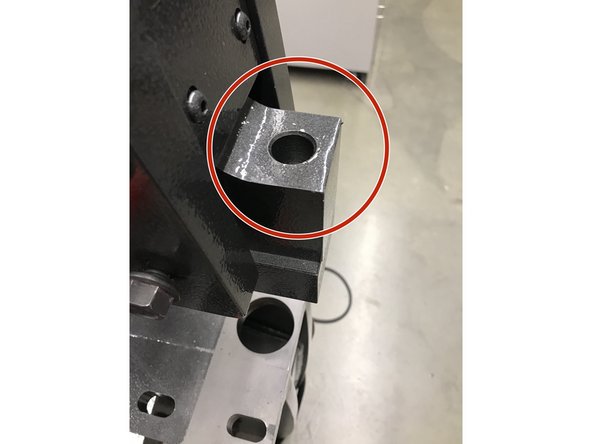
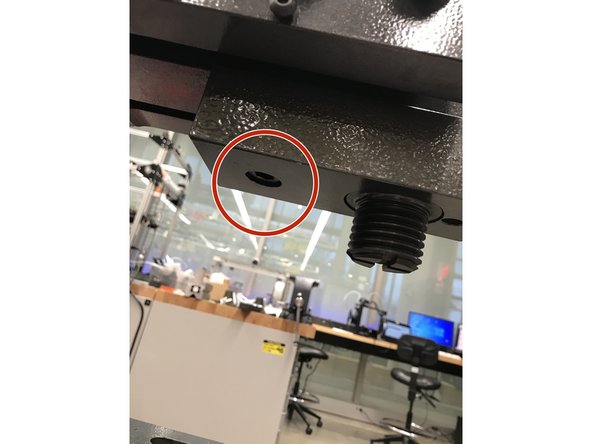
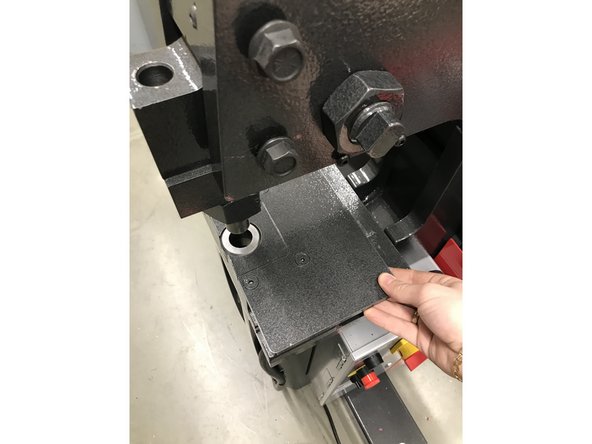
Remove the x block from the stand
-
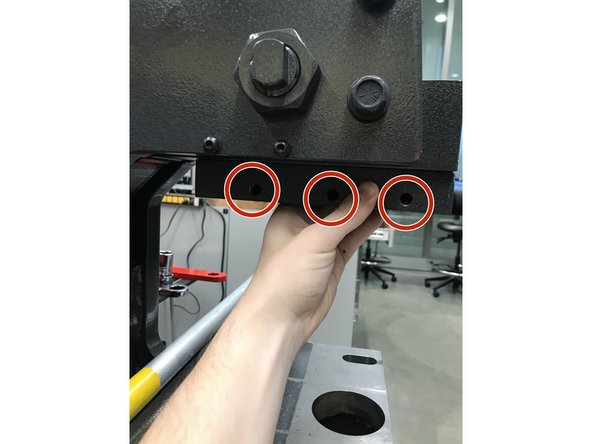
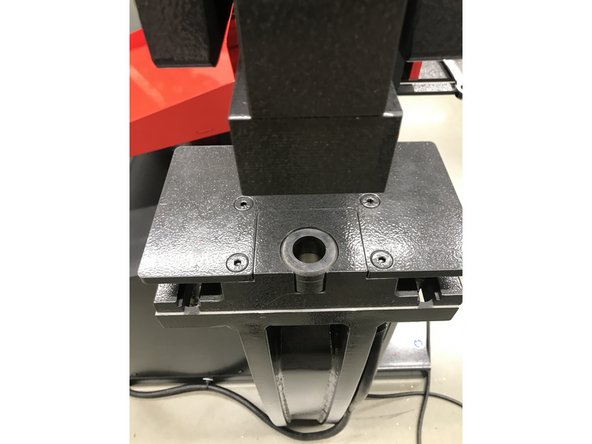
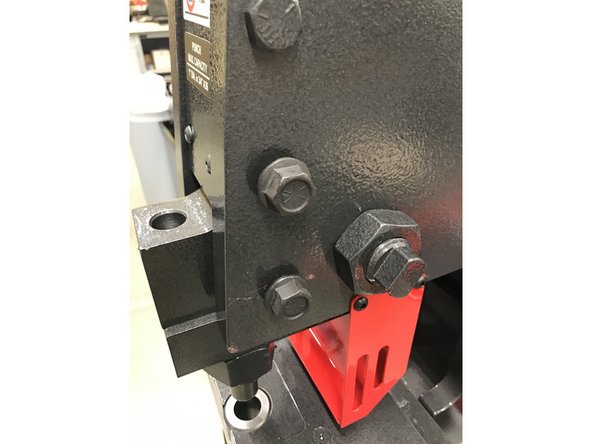
Remove the 4 bolts holding in the brackets
-
-
-
Loosen the grub screws with the 3/16ths T handle. Careful keep your hand under the die however it is heavy so be prepared to catch it.
-
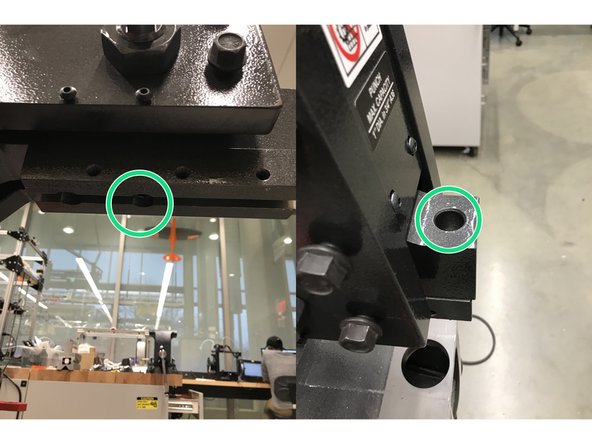
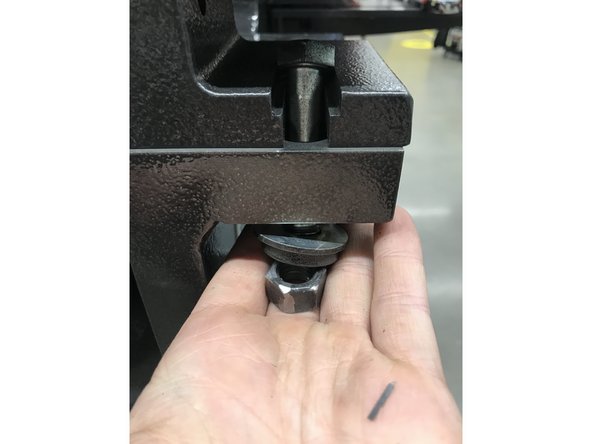
Remove these two bolds with the 3/8ths L handle
-
this is were you will need to use the breaker bar
-
NOTE: the front bolt is shorter the the rear one make sure it stays like that.
-
-
-
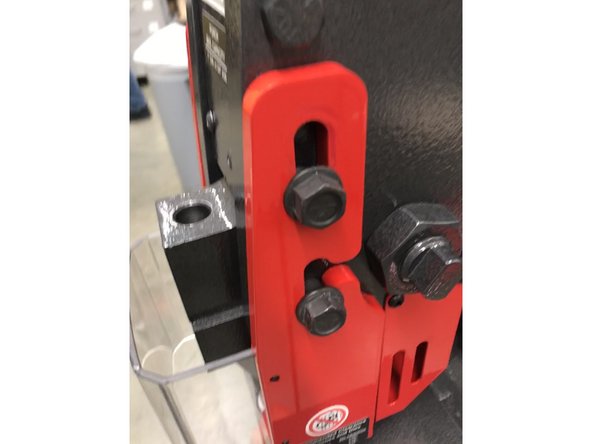
Tighten these bolts with the breaker bar
-
NOTE: the front bolt is shorter the the rear one make sure it stays like that.
-
-
-
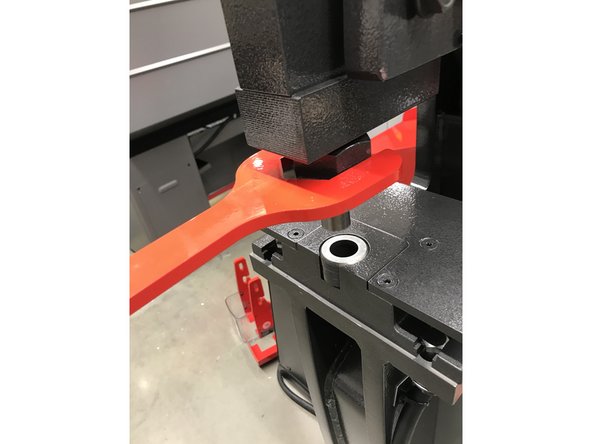
Place platon on the table with the proper die you want. Make sure the die is facing forward.
-
Then do up the bolts. Note the order of the washers. Make sure the bolts are loose for later alignment
-
-
-
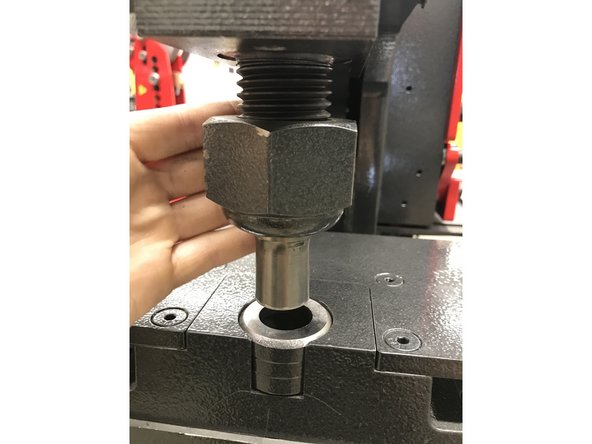
Screw on the large nut containing the die
-
Tighten with big red wrench.
-
-
-
Turn on the machine
-
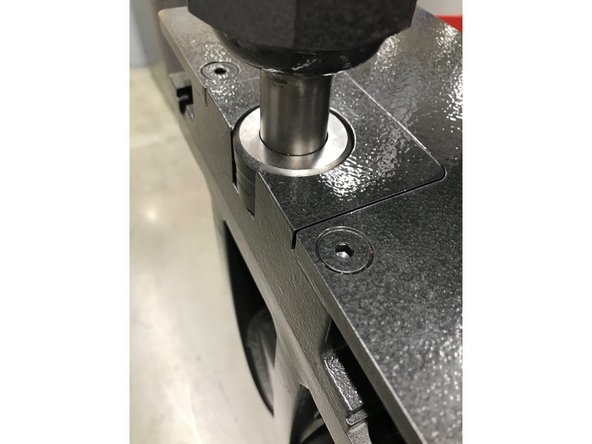
Lower the top limit switch all the way down.
-
SLOWLY lower the press and with your fingers holding a far corner of the the table ensure the punch will go in the die.
-
Hold the press in the down position and finger tighten the bolts.
-
Then give a full tightening to the platon bolts using the 3/4in socket
-
-
-
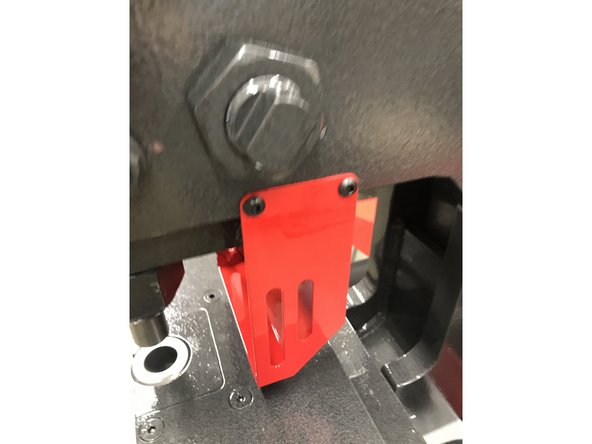
Use the 9/64th T handle to remove the screws and then tighten the guard back into place.
-
-
-
Use the 3/4in socket to remove and replace the bolts
-