
Introduction
This guide will explain how to properly and safely remove soft support material from Connex prints that are large and/or made out of sturdy print materials (i.e. VeroWhite).
Parts
No parts specified.
-
-
Using wide scraper, remove the parts off the build plate onto a blue towel
-
There will be a "raft" layer left over
-
Using the sharper/smaller scraper, remove the "raft" layer and dispose of it
-
Set parts aside
-
-
-
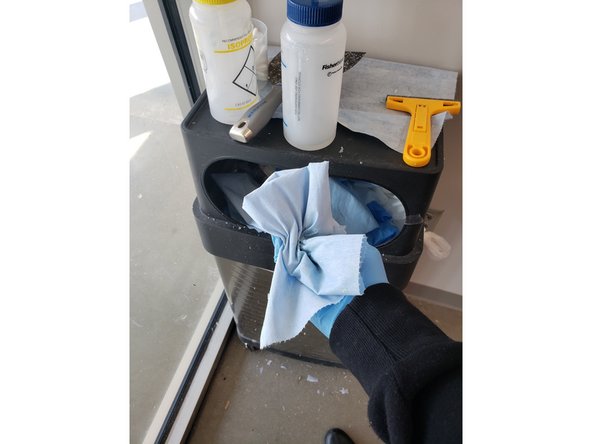
Using deionized water, spray the build plate
-
Using the woven fiber cloth, wipe away any residue on build plate and surrounding areas
-
It is not necessary to completely dry off the build plate, but do not leave pools of water
-
-
-
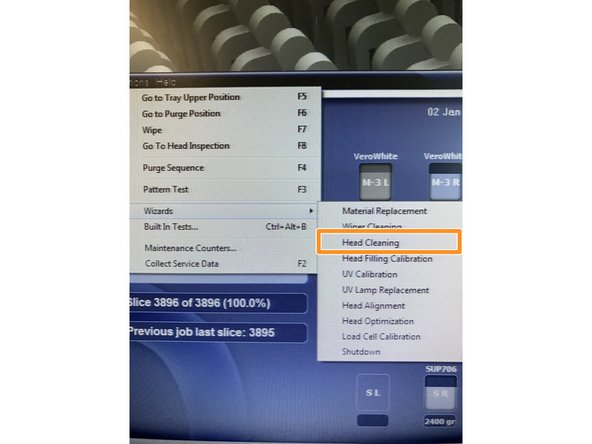
Options -> Wizards -> Head Cleaning
-
Follow steps, cleaning UV lamps, roller, and print heads
-
-
-
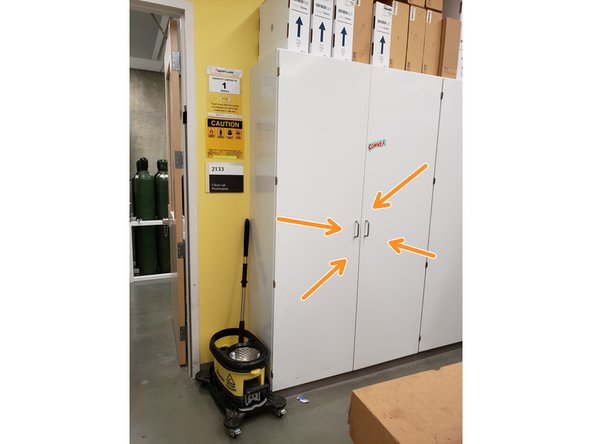
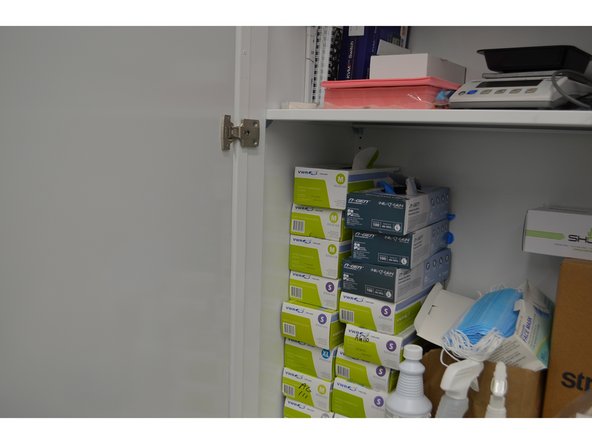
Put on latex gloves. They can be found in closest beside the Clean Lab Prototyping Room.
-
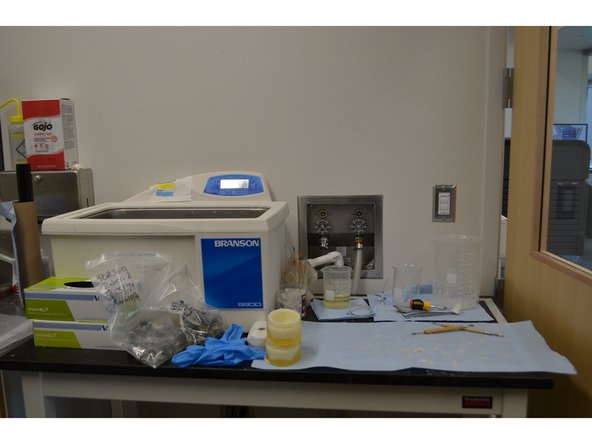
Move prints to the workstation in the Clean Lab Prototyping Room.
-
Put down paper towels if there aren't any.
-
-
-
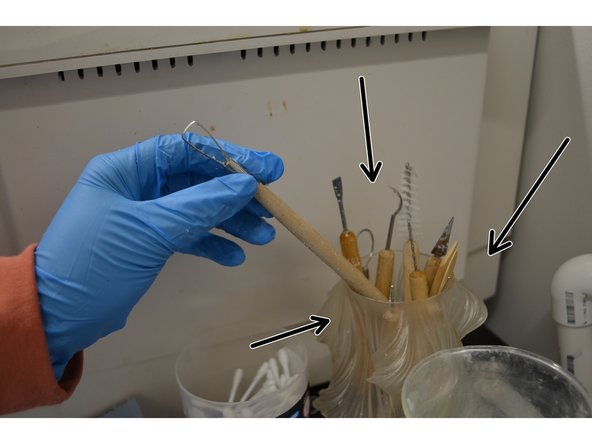
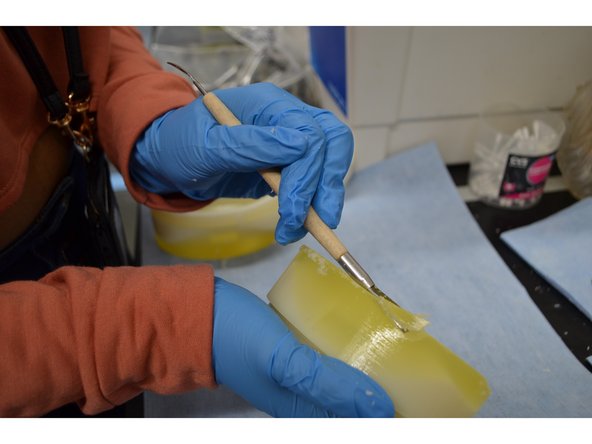
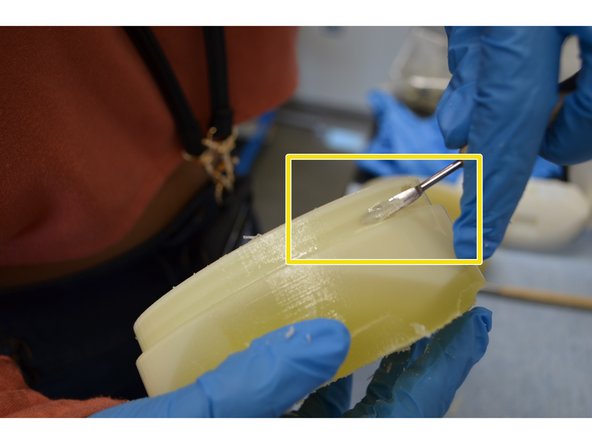
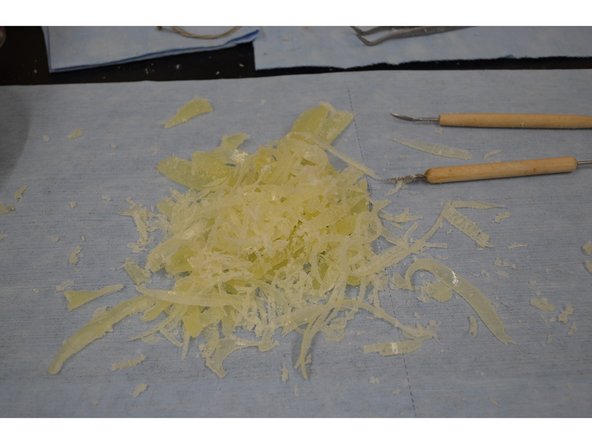
Using the carving tools on the workstation, try to remove as much support material as possible.
-
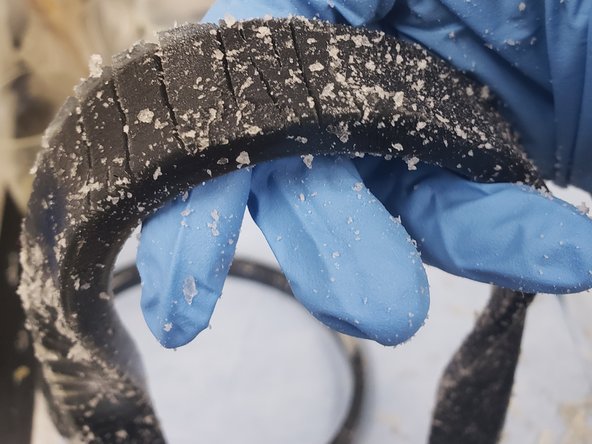
Be careful! Softer/smaller prints (like Agilus 30Black) could break or be scratched during harvesting.
-
Harder/larger prints (like Vero White) can be cleaned more aggressively, but make sure not to damage the print's surface.
-
-
-
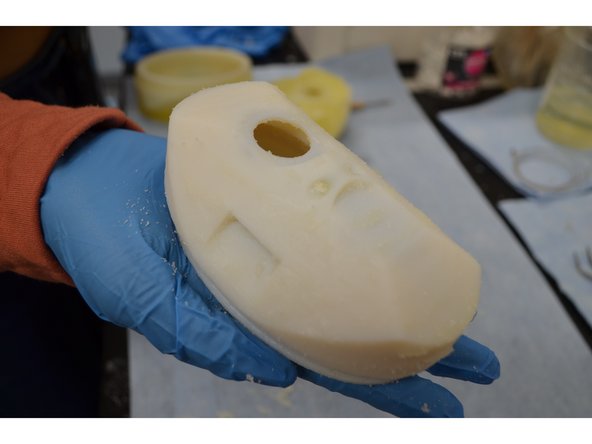
Work until the majority of support material is removed. Once the part is clean you have 3 Options:
-
#1 Use the sink to wash off residual support material on large soft prints.
-
#2 Use the PowerBlast power washer to remove residual support material from large, sturdy prints.
-
#3 The Sonicator to either loosen hard support material, or remove residual soft support material from small prints (i.e. Agilus 30Black prints &/or prints with hard support material).
-
In this Dozuki, we'll be focusing on options #1 and #2
-
-
-
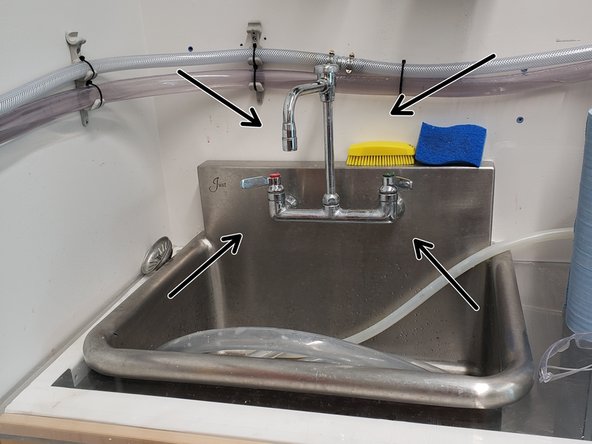
For large soft prints, just use the sink to gently remove residual support material manually. You may need bounce between the sink and the carving tools repeatedly to completely clean the print.
-
-
-
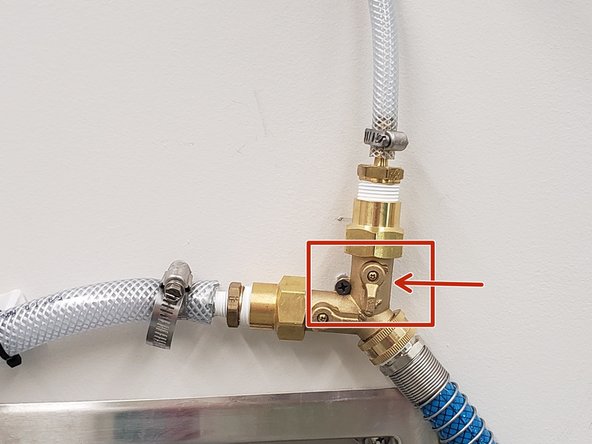
Check that water pressure is on. When the leftmost switch is facing downward, the water pressure is OFF
-
When the switch is Horizontal to the tube, the water pressure is ON
-
DO NOT Touch the second switch perpendicular to the tube. It controls the water pressure to a different printer and messing with it could cause issues with it.
-
-
-
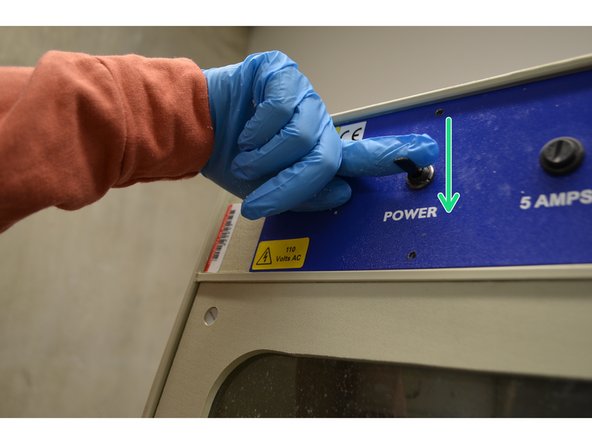
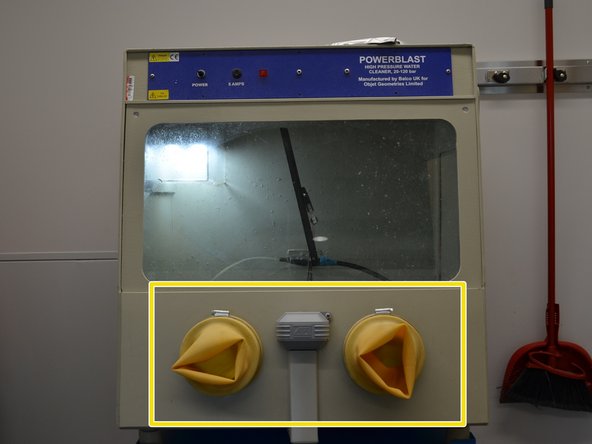
Turn on the PowerBlast by flipping the switch on the upper left corner of the blue portion of the washer.
-
Flip the switch down to turn on the washer, and up to turn it back off. When on, the overhead LED lights should flash on.
-
-
-
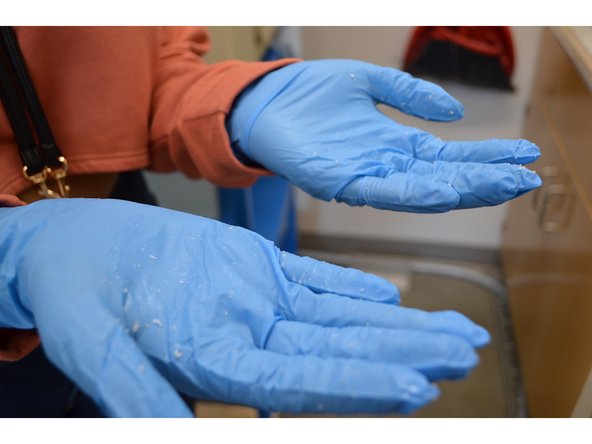
If your gloves are dirty from manually removing support material, get a new pair of gloves and discard your current pair.
-
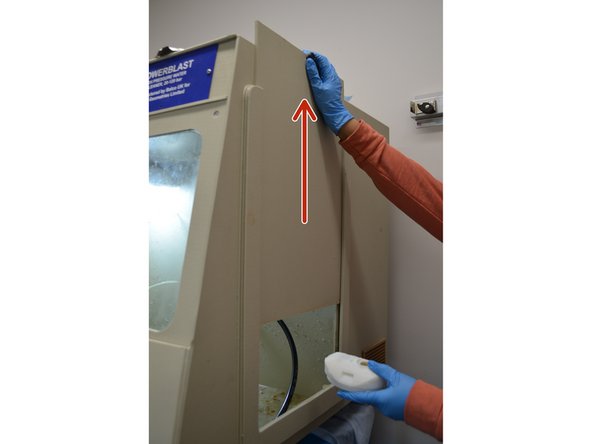
Lift the side panel on the right side of the washer and place the print on the center platform.
-
MAKE SURE TO CLOSE THE PANEL.
-
Insert your hands into the yellow protective gloves.
-
-
-
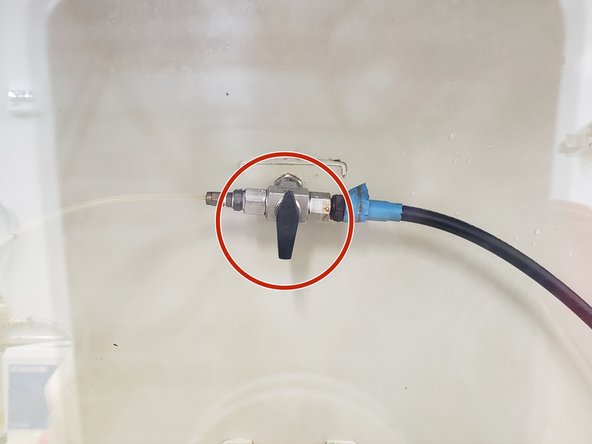
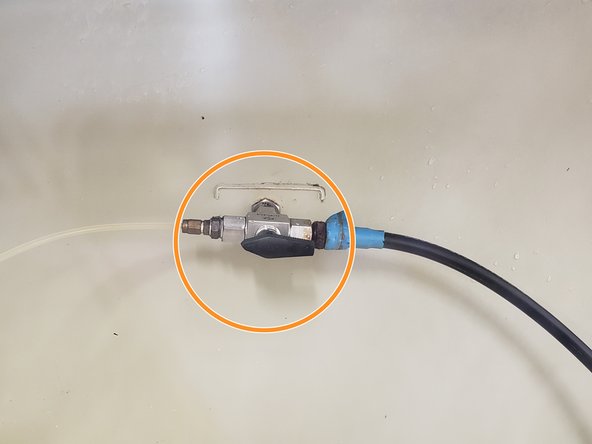
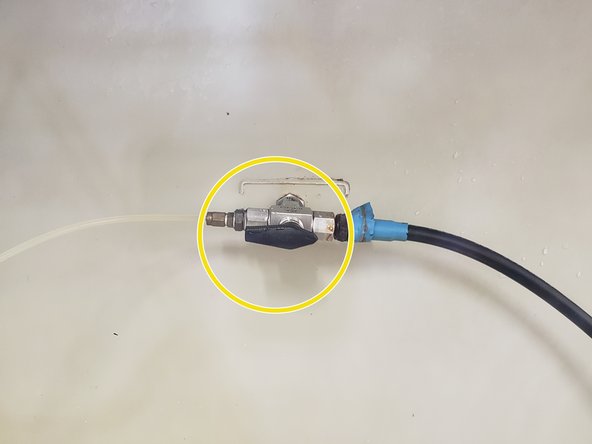
After inserting your hands into the yellow protective gloves,\you'll see 2 hoses. These hoses are controlled by a small valve.
-
When the valve is in the upright position, the pressure is off for both hoses
-
When facing the left, water will come out of the left hose. This one is the high pressure hose of the two
-
When facing the right, water will come out of the right hose.
-
-
-
When you're ready to start cleaning, step on the small circular pad on the floor. This is what releases the water to the houses.
-
Step on the pad LIGHTLY. It doesn't take much force to start the water.
-
Maintain pressure while using the hose(s). When you're done, just step off the pad.
-
-
-
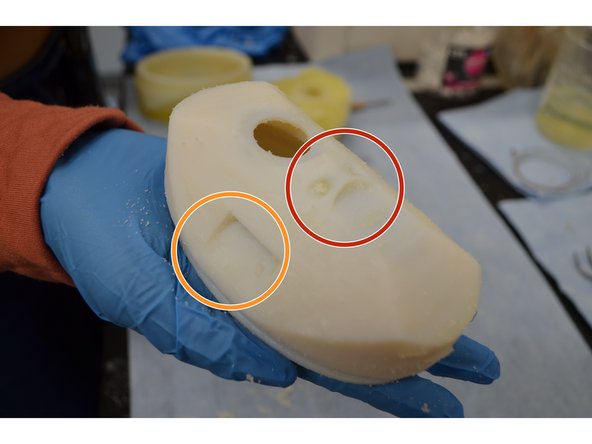
For parts with sharp overhangs, small channels, crevices etc., be sure to get a thorough cleaning. For things you can't use the sculpting tools for, use the PowerBlast clean.
-
For difficult to remove support clumps, use the high pressure hose to "scrub" it off
-
-
-
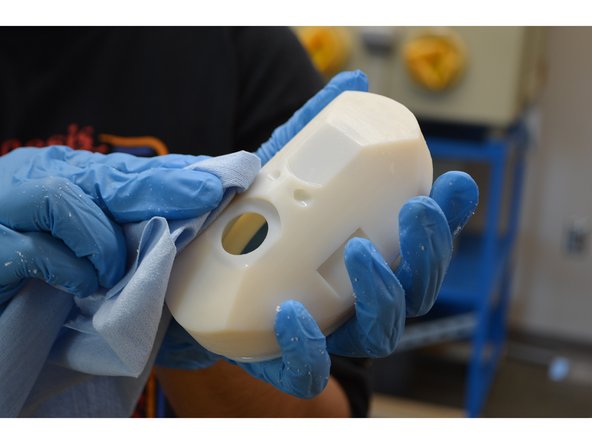
Clean parts until no support material is left.
-
When done, collect all support material onto the paper towels you laid out early and through them away in the nearby trashcan.
-
Make sure to clean up your work station and dispose of any other trash you might have.
-
-
-
Make sure you wipe down the work station and clean all equipment used.
-
When done using the PowerBlast, use the hoses to push all support material down the drain.
-
The support material will be caught in the waste sift, while the water will be caught in the waste bucket. Both will need to be cleaned once a month, or as needed.
-


For prints that are too small or delicate to be placed in the power washer, or prints make with hard support material, see the Support Removal with the Sonicator guide.
For prints that are too small or delicate to be placed in the power washer, or prints make with hard support material, see the Support Removal with the Sonicator guide.
