Introduction
The pad on the disc grinder will need to be replaced when the metal disc is showing or when it becomes worn. Make sure that you are wearing gloves when taking the old pad off!
-
-
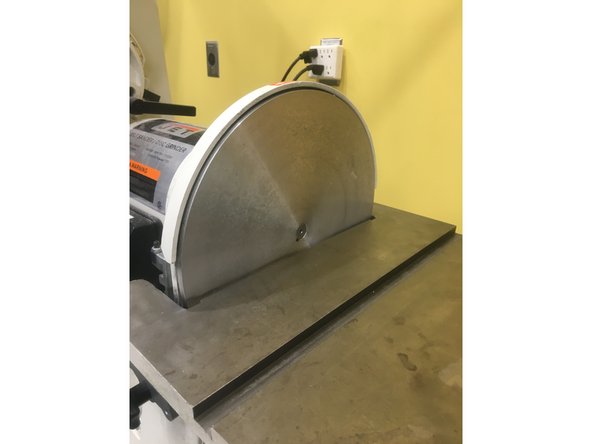
Unplug the sander/grinder from the wall and clear the plate of the disc grinder.
-
-
-
Before you proceed, MAKE SURE YOU ARE WEARING GLOVES AND SAFETY GLASSES!
-
The pads are attached to the disc grinder by an adhesive. To take the pad of, use a putty knife to pull the edge of the pad off the disc.
-
Work the putty knife around the edge of disk and remove the old pad.
-
-
-
First, use the putty knife to scrape the adhesive residue and excess paper left from the old pad.
-
Next, use a paper towel and acetone to remove ALL of the residue.
-
Once you have finished with this, clean the plate and make sure that there is no bedrid near the disk.
-
-
-
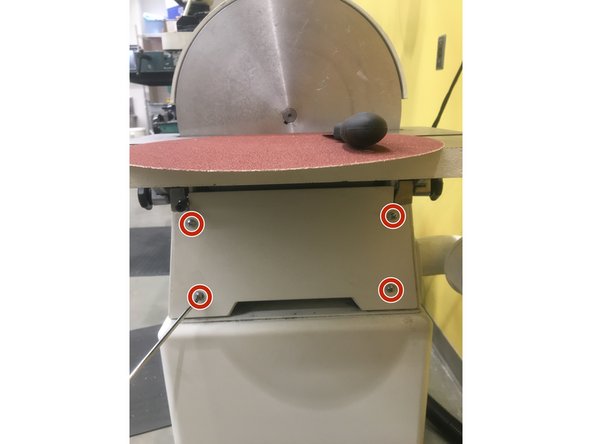
Using a screwdriver, unscrew the four screws holding in the lower cover. Once the cover is removed, vacuum up any dust.
-
-
-
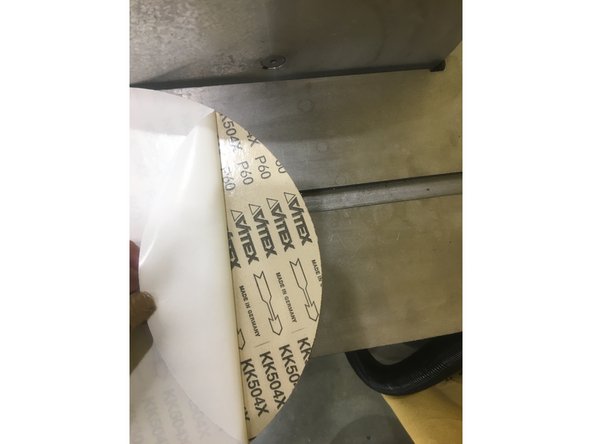
Remove the backing from the adhesive side of the new pad.
-
Carefully slide the pad between the disc and the plate, with the adhesive side toward the disk. Make sure that no debris comes in contact with the adhesive, as this will cause the pad to adhere improperly.
-
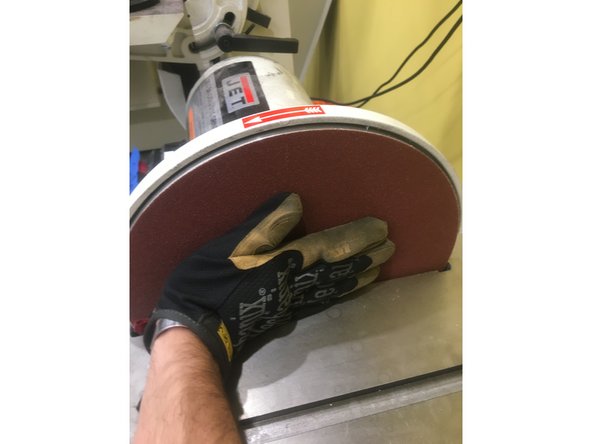
Align the pad so that it is centered on the disc. Firmly press the pad onto the disc as evenly as possible.
-
-
-
Reinstall the bottom cover and plug the machine back in. Ensure that the pad has fully adhered to the disc.
-
Turn the machine on to make sure that the pad is aligned properly.
-


