-
-
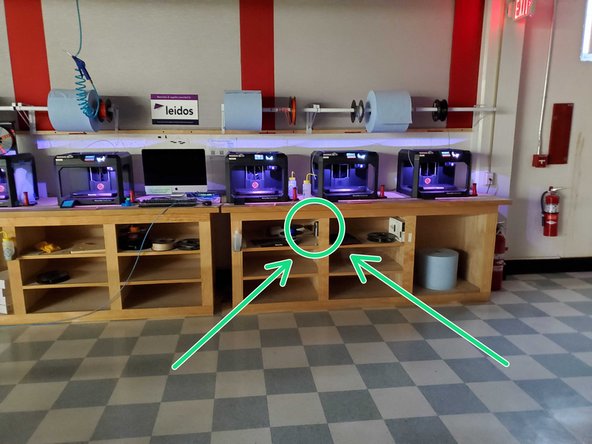
The key for the lab is located in the ENES 100 Keystone Lab, located in the JMP building (Room 1120)
-
It is located under the 3D printers, attached to the bottom panel as shown by the green arrow.
-
Please email David to be added to the Bluetooth lock login. Specify what email you would like to get access to.
-
-
-
The lock that holds the key can bo opened via Bluetooth app.
-
After retrieving the key, go to the router room (1104) and unlock the door.
-
If one key doesn't work, try the other.
-
-
-
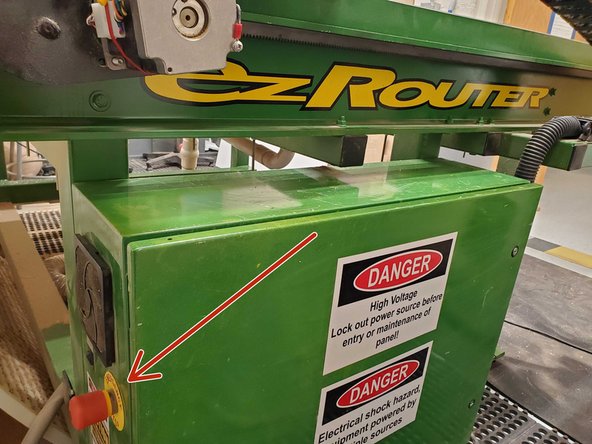
Before powering on, always be sure the surrounding area is cleaned up, and the machine can be safely moved to any position.
-
The location of both switches is on the back left of the machine.
-
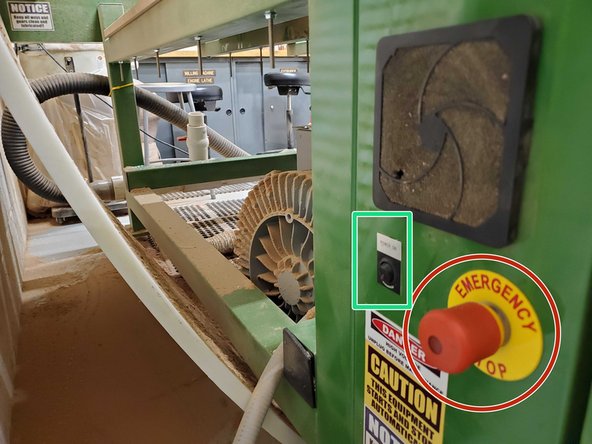
If anything were to go wrong, the emergency stop is the big red button located on the back of the machine. Push it to stop all processes and shut the machine down immediately, and twist to pop it back out.
-
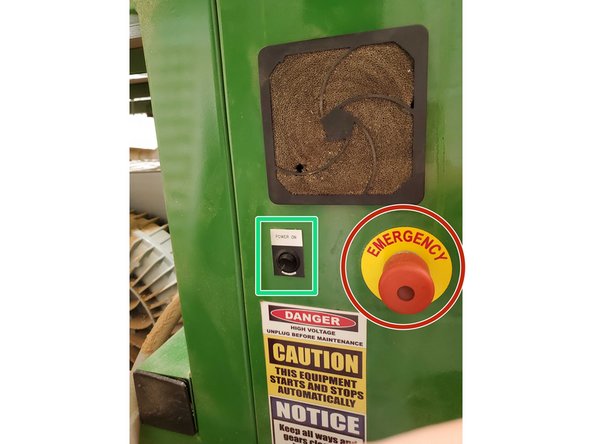
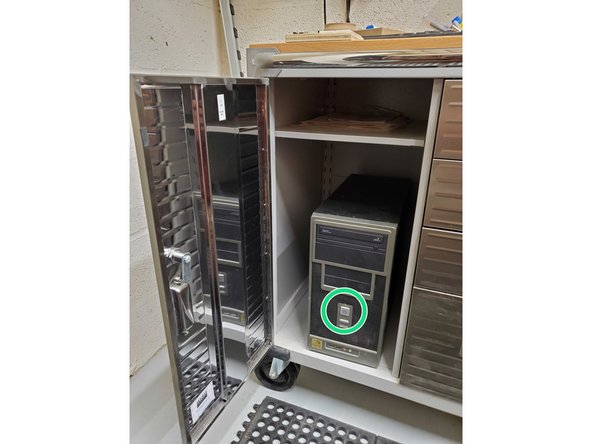
To turn the machine on, flick the switch on the back of the machine to the ON position, as depicted by the green circle.
-
-
-
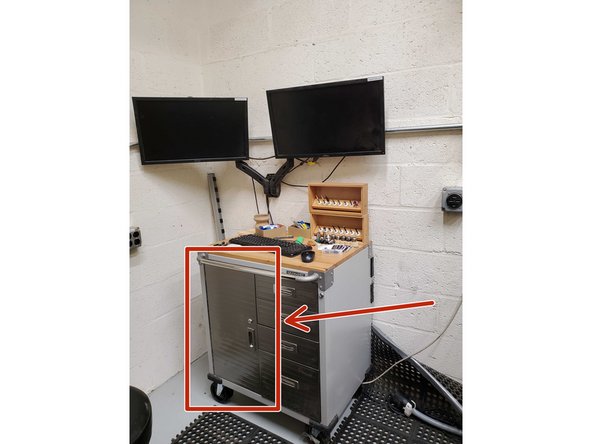
The computer is located inside the cabinet to the left of the machine.
-
Click the power button once, as depicted by the red arrows and circles.
-
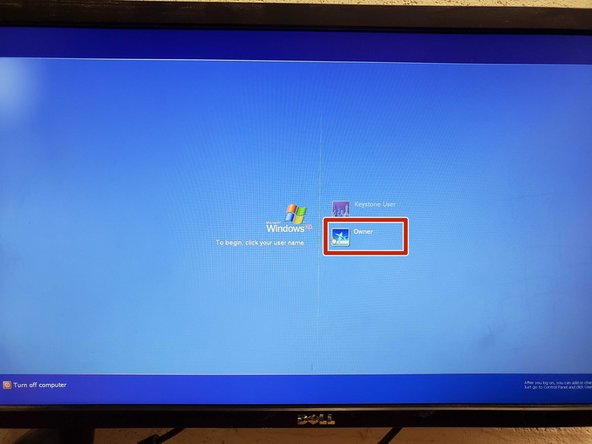
Wait for the computer to boot up to the login screen.
-
-
-
When the login screen starts up select "Owner."
-
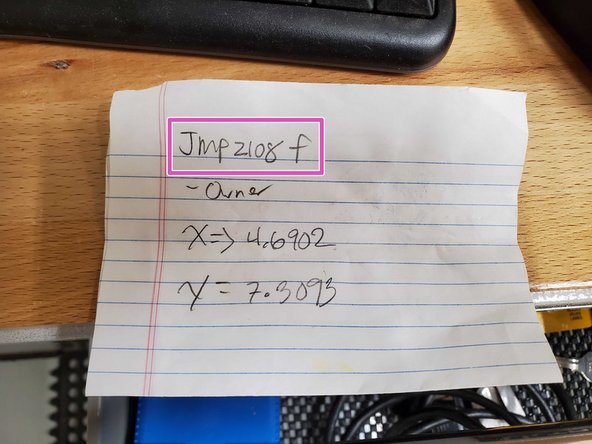
Type in the passcode "JMP2018f" and enter to log in.
-
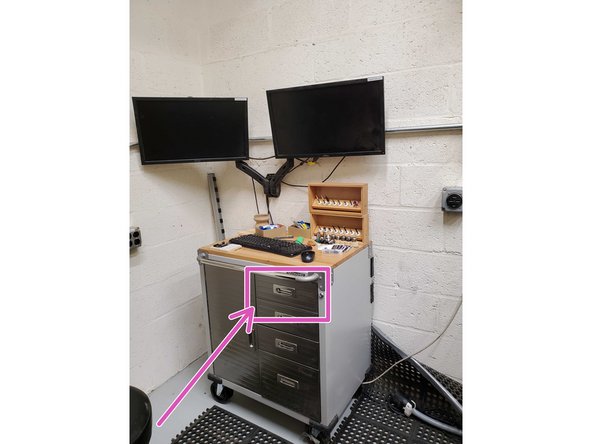
The code is written on a piece of paper in the top drawer as a backup.
-
-
-
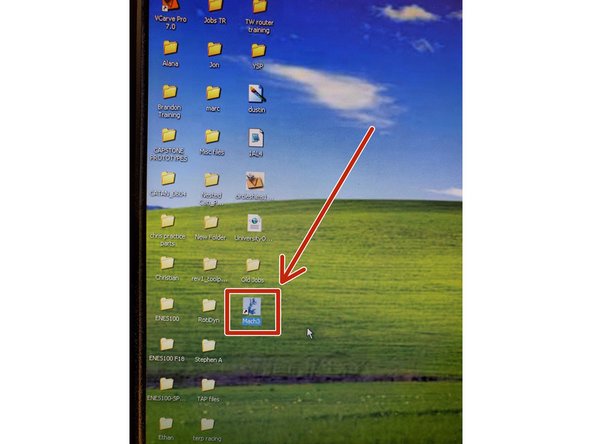
On the home screen, double click the "MACH 3" software button.
-
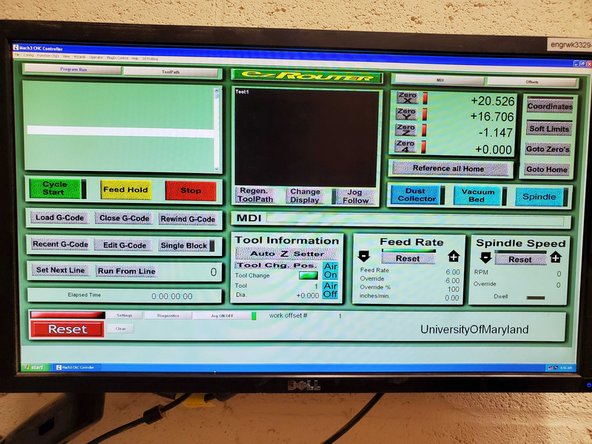
From here, the machine can be controlled, and a g-code can be loaded and ran. It is essentially the command center for the EZ router.
-
-
-
To load G-Code, simply find the file on the removable drive, and drag it over the MACH software, and release it.
-
-
-
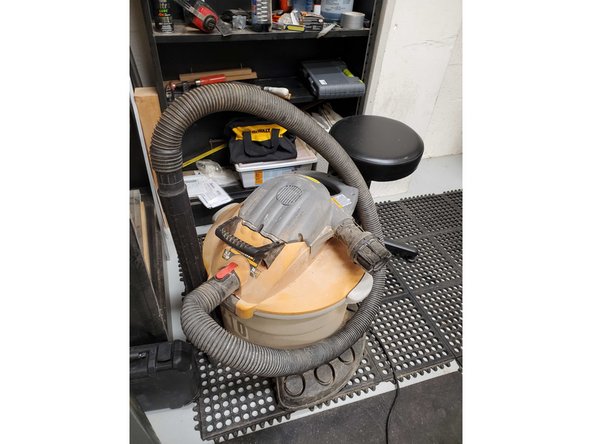
The shop vac is used to clear debres off the table and ground.
-
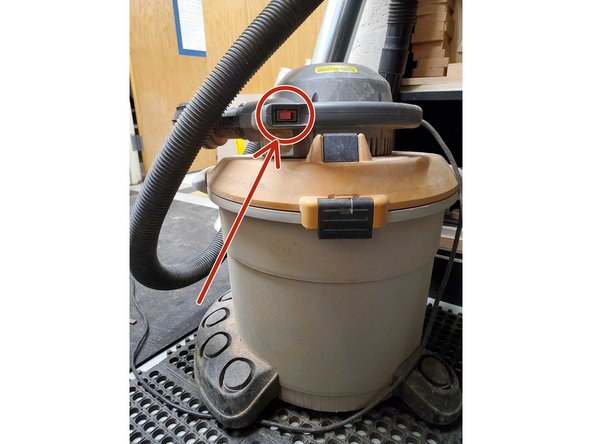
The power button is shown by the red circle, make sure it is plugged into a wall outlet first.
-
Empty into the trashcan after every use.
-
-
-
Shutdown the computer, after a successful computer shutdown, flip the on/off EZ router switch.
-
-
-
Verify that lights are off, everything is off, and the door is locked.
-
Make sure to ut the key back exactly where you got it in step one.
-
Please upload a picture of your cutout "Arduino Holder," and even up an Arduino and breadboard in if you would like.
-